Panning for Gold
The standard gold pan is made of stiff sheet iron and is 16 inches in diameter at the top and 2-1/2 inches deep. The rim is flared outward at an angle of about 50 degrees from the vertical. Smaller pans are used for testing, and it is advisable for most panners to use either a 10- or 12-inch size for handling ease. Probably the 12-inch is the most widely available. Frying pans or other cooking utensils may also be used for washing out gold but are less effective. Before any kind of container is used for panning it should be cleaned thoroughly and all grease should be burned out. New pans generally are greasy and should be heated over a fire until this coating is gone. Even a rusty pan, if clean, can be used satisfactorily. In fact, the roughness due to the pitting of the rust may assist in holding back the gold.
There are different techniques and subtle variations in the art of panning–experience teaches which is best. Those with wide experience and much practice can recover the most gold with the least effort. It is sometimes said that good panning technique lies in the action of the wrists. After much practice the good panner should be able to save even the very fine gold that may be nearly but not quite free from the black sands.
The pan usually is filled level with the top, or slightly rounded, depending somewhat upon the nature of the material being washed and the personal preference of the panner. It is then submerged in water.
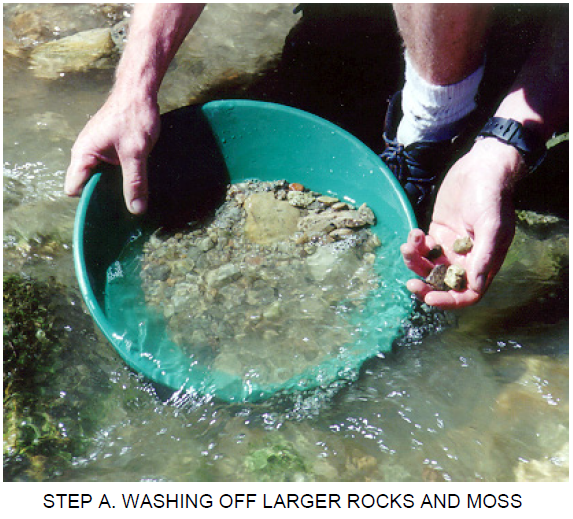
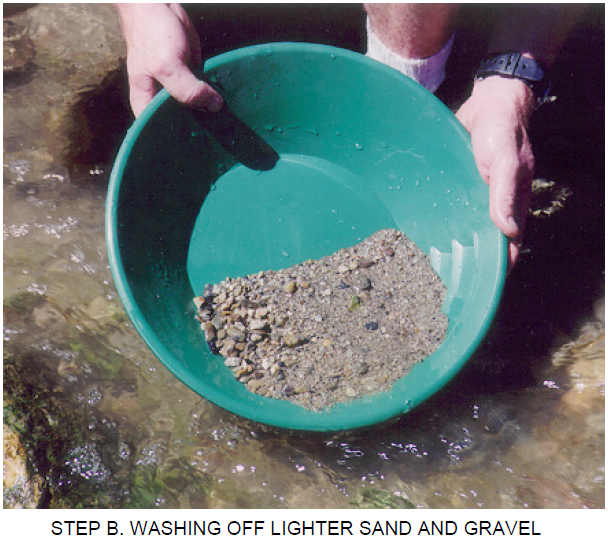
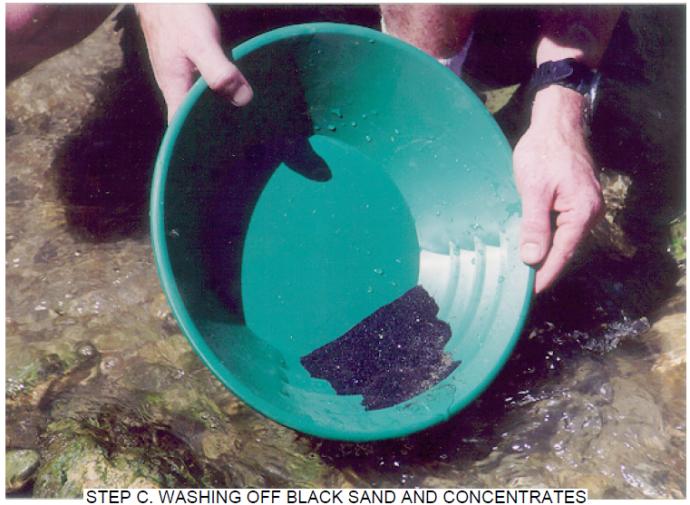
Still water 6 inches to 1 foot deep is best. While under water the contents of the pan are kneaded with both hands until all clay is dispersed and the lumps of dirt are thoroughly broken. The stones and pebbles are picked out after the fines are washed off. Then the pan is held flat and shaken under water to permit the gold to settle to the bottom. The pan is then tilted and raised quickly — still under water — so that a swirling motion is imparted and some of the lighter top material is washed off. This operation is repeated, occasionally shaking the pan under water or with water in it until only the gold and heavy minerals are left. With proper manipulation, this material concentrates at the edge of the bottom of the pan. Care must be taken that none of the gold climbs to the lip of the pan or gets on top of the dirt.
Nuggets and coarse colors of gold can now be picked out readily with a tweezer or with the point of a knife. Cleaning the black sand from the finer gold is more difficult, but can be carried nearly or entirely to completion by careful swirling of the contents as described above, always watching to see that none of the colors are climbing toward the lip. This part of the operation usually is done over another pan or in a tub so that if any gold is lost it can be recovered by repanning.
PANNING HINTS
When using a steel pan, make sure to remove all the oil from the pan before you use it. The most common way is to “burn” it over the coals of a campfire using extreme caution. The
pan is heated to a dull red glow, then dunked in water. This not only removes the oil but also gives the pan a dark blue hue, which makes the gold easier to see. If any oil is left in the pan, it will cause the fine gold to float, making separation impossible.
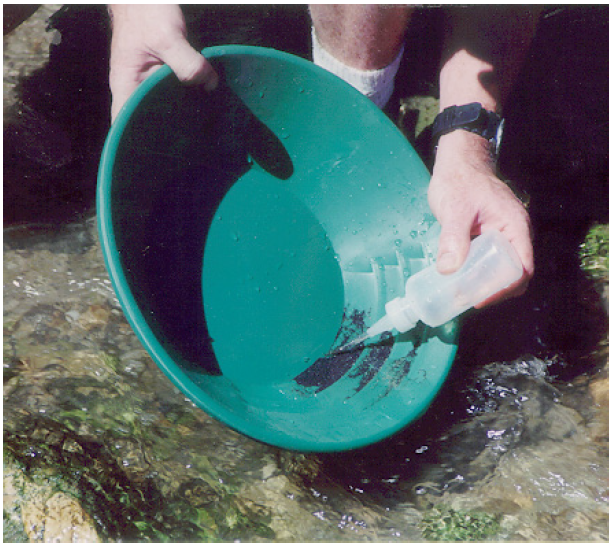
Another secret to speed up the final steps is to keep a small squeeze bottle of detergent close at hand. A couple of drops in the pan during the last separation will break the surface tension of the water and speed up the operation considerably.
In conclusion, don’t let anyone tell you that this country’s rivers and streams no longer contain gold. Every year winter storms bring more to the surface, continually renewing nature’s supply. It’s all there for the taking, and the gold pan is still the best way to find it! The concentrates should be dried, and the black sands (composed largely of magnetite) can then be
removed by a magnet or by gently blowing them on a smooth flat surface. If there is an excessive quantity of black sand, the gold usually is amalgamated by putting a portion of a teaspoonful of mercury in the pan. In sampling work, extra care should be taken to see that no fine colors are lost. When mining, however, additional time needed to insure that all colors are saved probably is not justified because the value they add is so small.
A word should be said here about other minerals that you may see in your gold pan. Pyrite (“fool’s gold,” an iron sulfide) and mica are often mistaken for gold by the novice. Pyrite, which is usually abrassy yellow to white color, will shatter when struck with a hammer and becomes a black powder when finely ground. Mica, which may have a bright, bronzy appearance, is distinguished by its light weight and flat, platy cleavage. Both minerals are common in gold areas. Other minerals that will collect with the gold and black sands because of high specific gravity include ilmenite (iron-titanium oxide), hematite (nonmagnetic iron oxide), marcasite (an iron sulfide), rutile (titanium oxide), scheelite (calcium tungstate), wolframite (iron, manganese tungstate), tourmaline (boron and aluminum silicate), zircon (zirconium silicate), chromite (iron and chromium oxides), and cinnabar (mercury sulfide). If present in sufficient quantity, these latter minerals may have some economic significance, although efforts to recover them as byproducts are seldom worthwhile.
Native platinum, elemental mercury, lead shot, and similar materials are also occasionally found in the pan. In Guatemala, at the Motagua river, you could find most of all, Pyrite, mica, ilmenite, hematite, marcasite, wolframite, chromite and some lead. HAPPY PANNING!!!


